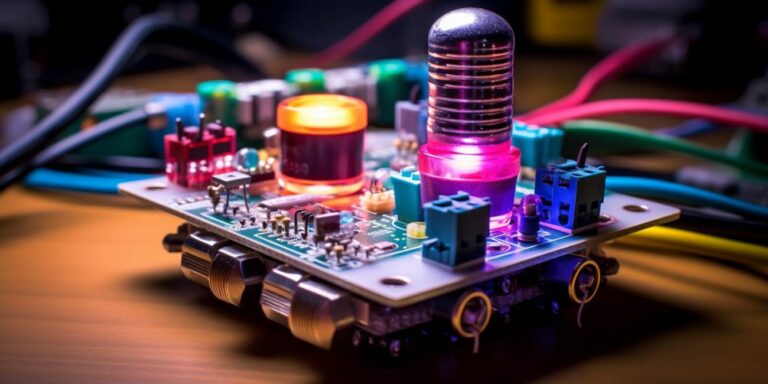
If you’re looking to add sound and audio feedback to your Arduino projects, using a buzzer is an excellent choice. Buzzer modules are versatile components that can produce a wide range of tones and melodies, making them suitable for various applications. In this article, we will explore how to use a buzzer with Arduino, discuss the basics of Arduino tone generation, and even introduce the concept of using a MOSFET with Arduino for more advanced control.
Buzzer with arduino
Arduino is a popular open-source platform for electronics projects, and it offers a straightforward way to control a buzzer. A buzzer is a type of transducer that converts electrical signals into sound waves. Arduino boards, equipped with digital and analog pins, can easily generate the necessary signals to make the buzzer produce sound.
Here’s a basic example of how to connect and use a buzzer with Arduino:
| Arduino Pin | Buzzer Module |
|---|---|
| Digital Pin (e.g., D2) | Signal |
| GND | Ground |
Now, in your Arduino sketch, you can use the following code to make the buzzer produce sound:
void setup() {
  pinMode(2, OUTPUT);
}
void loop() {
  digitalWrite(2, HIGH);
  delay(1000);  // Sound for 1 second
  digitalWrite(2, LOW);
  delay(1000);  // Silence for 1 second
}
This code sets up digital pin 2 as an output and alternates between turning it on and off, producing a simple sound pattern. You can modify the delay times and patterns to create various melodies and effects.
Arduino tone generation
Arduino offers a built-in tone() function that simplifies the process of generating different tones and frequencies. This function takes two arguments: the pin to output the tone and the frequency in Hertz.
Here’s an example of how to use the tone() function:
int buzzerPin = 2;  // Use digital pin 2
void setup() {
  pinMode(buzzerPin, OUTPUT);
}
void loop() {
  tone(buzzerPin, 1000);  // Play a 1 kHz tone
  delay(1000);           // Sound for 1 second
  noTone(buzzerPin);     // Turn off the tone
  delay(1000);           // Silence for 1 second
}
This code produces a 1 kHz tone and then turns it off, creating a more controlled sound output.
Mosfet for arduino
If you want to control a buzzer with Arduino more precisely, especially when dealing with higher currents or more significant loads, you can use a MOSFET (Metal-Oxide-Semiconductor Field-Effect Transistor). A MOSFET acts as a switch and can handle larger loads than the Arduino’s pins.
Here’s a basic circuit setup using a MOSFET with Arduino:
| Arduino Pin | MOSFET |
|---|---|
| Digital Pin (e.g., D3) | Gate |
| GND | Source |
| 5V | Drain |
| Load (e.g., Buzzer Module) | Between Drain and Ground |
With this setup, the Arduino controls the MOSFET’s gate, allowing you to switch the buzzer on and off more efficiently while protecting the Arduino pins from potential damage.
Piezo arduino
Piezo buzzers are a common type of buzzer used with Arduino. They consist of a piezoelectric element that vibrates when an electrical signal is applied to it. These buzzers are known for their simplicity and reliability, making them suitable for various applications like alarms, notifications, and musical projects.
Q1: can i use any digital pin to connect the buzzer to arduino?
A1: Yes, you can use any available digital pin on your Arduino board to connect the buzzer, just remember to update your code accordingly.
Q2: how can i play specific melodies with the buzzer?
A2: To play melodies, you’ll need to define the frequency and duration for each note in your code. There are also libraries available that can simplify the process of creating melodies.
Q3: why use a mosfet with arduino for a buzzer?
A3: Using a MOSFET allows you to control higher loads and protect your Arduino pins from potential damage due to excessive current.
With the knowledge of using a buzzer with Arduino, Arduino tone generation, MOSFET integration, and the versatility of piezo buzzers, you can now add sound and audio feedback to your Arduino projects with ease. Experiment and have fun creating various sound effects and melodies!
Zobacz także:


